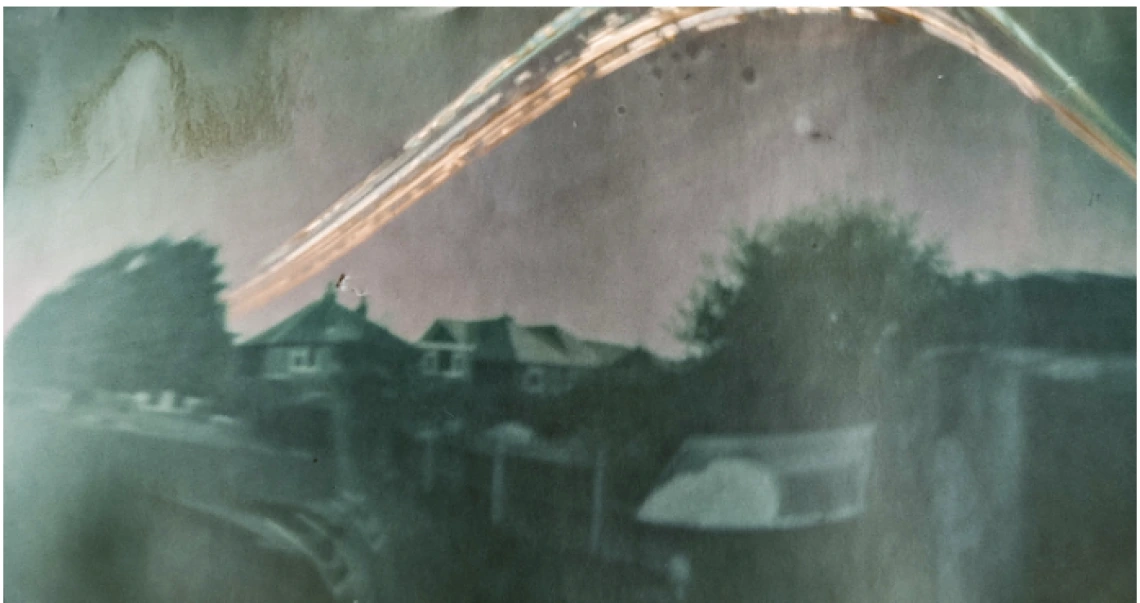
Now that you've made your solargraph camera, you need to install it. When setting up a solargraph camera, the key factors to consider are the direction of the sun’s movement and how much light your camera will receive over the course of the exposure. There are some great apps you can use to locate the movement of the Sun. SunCal is a free online site and is worth exploring.
Here are some tips on where to place your camera:
1. Direction of Exposure:
South-facing (in the Northern Hemisphere): A south-facing location will capture the sun’s arc across the sky, especially if you're looking for the longest and most pronounced trails.
2. Lighting Conditions:
Sunny locations: To get clear, sharp solargraph images, you'll want to place your camera in a location that gets plenty of sunlight during the exposure period.
Shaded areas: If you want a more subtle effect with softer sun trails, a shaded location can work, but make sure there’s still enough light filtering through.
3. Ideal Height and Placement:
Elevated position: Placing your camera slightly off the ground (on a fence post, ledge, or tree branch) will help reduce interference from plants or animals.
Stable surface: Ensure the camera is steady and won't move during the exposure period. Wind, rain, or other factors could blur the image if the camera shifts.
4. Long Exposure Duration:
Since solargraphs are meant to capture the sun's trail over a long period (typically weeks to months), make sure your camera is in a safe, secure location where it won’t be disturbed.
The length of time you leave the camera is up to you. The longer you leave it the more impressive the image will be, however fantastic solargraphs have been done in just one day.
Ready to upload your image
When you're ready to collect your image, be sure to cover the pinhole to stop light exposure. Once your solargraph has finished exposing you can now photograph it and then add to the collaboration. Upload instruction can be found here.

